
This post may contain affiliate links
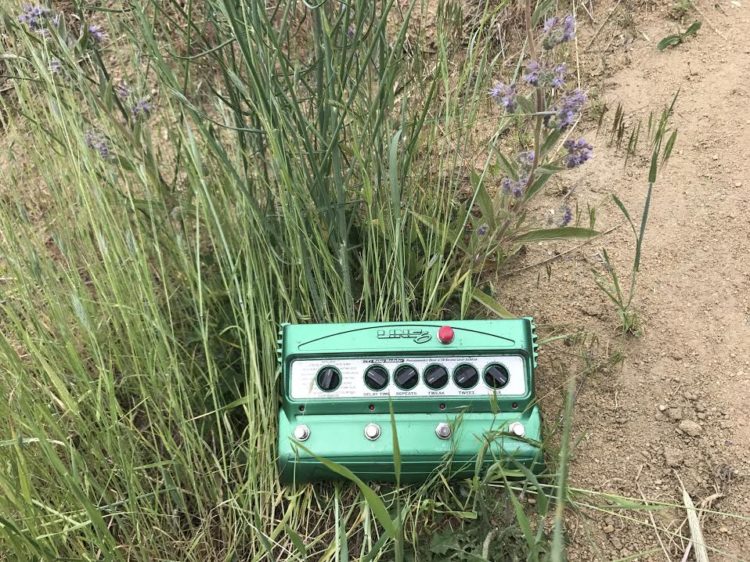
The Line 6 DL4 is a powerhouse of a delay pedal. Offering 15 different delay options and an incredibly useful 14 second looper option. However, I kept finding myself wishing that I had a way to switch between the delay and looper settings, without bending down to turn the selector. That’s when I found one of the most amazing Line 6 DL4 mods, the looper switch mod.
The Line 6 DL4 Looper Switch Mod
This Line 6 DL4 Mod allows you to switch between your delay and looper settings by simply stepping on a footswitch. This significantly increases the functionality of the pedal and can save you from having to bend over in the middle of a song to change your settings.
This mod is a fairly easy guitar pedal modification and doesn’t require many parts to execute.
*Disclaimer: modifying a guitar pedal can void warranties and/or damage the pedal. Proceed with caution!*
So what do we need to add the looper switch mod to the Line 6 DL4?
Parts list:
- Line 6 DL4 (I assume you already have one, but if not you can find a DL4 on Amazon or Reverb)
- Soldering Iron
- Solder
- Needle Nose Pliers
- Diagonal Pliers
- Phillips-head Screwdriver
- Hookup Wire
- Drill & Drill Bit
- On/off SPDT Foot Switch
How to add the looper switch mod to a line 6 DL4
Once you have gathered all of your tools and parts, let’s add the looper switch mod to your line 6 DL4!
Step One
First off, you are going to ensure that the pedal is not connected to a power source (safety first!). Next, we will remove the knobs from the front of the DL4. You should be able to pull these off with your fingers, but you may need to gently remove them with your Needle Nose pliers. You will also need to remove the nuts that secure each of the four footswitches.
Then you will lay the pedal face down and remove the screws that secure the backplate – once the screws are removed, remove the backplate and set it aside.
Step Two
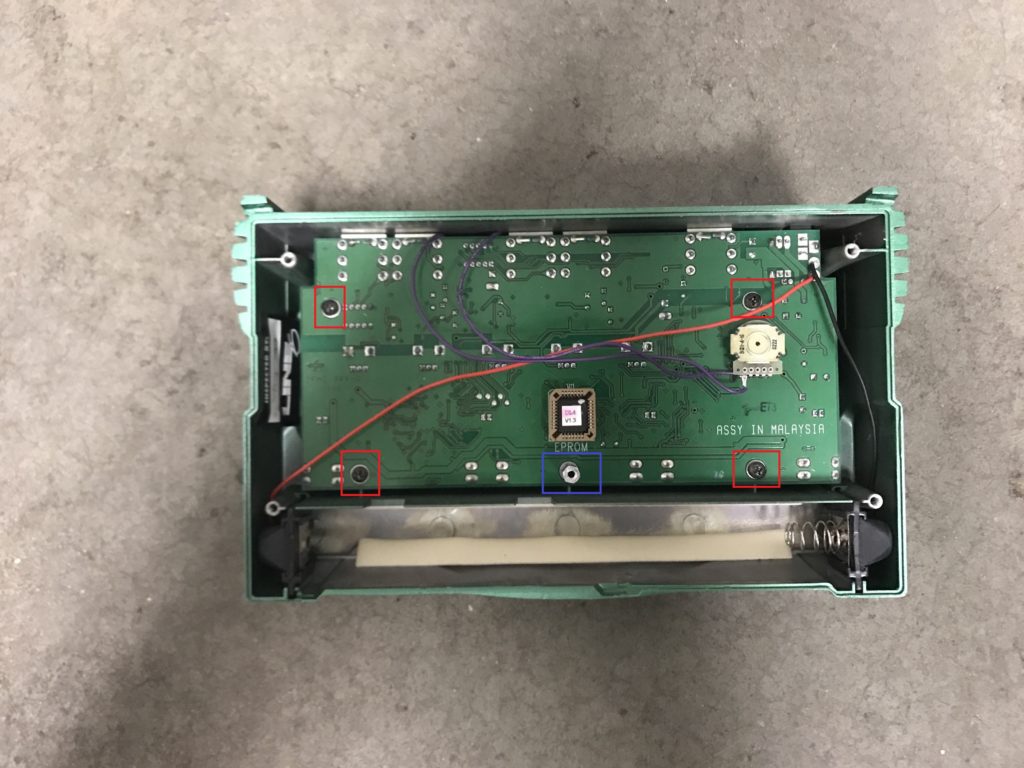
You will now see the circuit board of the Line 6 DL4. You will find that there are four screws (highlighted in red above) and a silver hex pin (highlighted in blue above). You will remove these screw and set them aside. You will also need to remove the hex pin, but you can generally unscrew it with your fingers. Once the screws and the hex pin are removed, we can remove the circuit board. The Power & Ground wires will still be connected, but you should have enough slack to set the circuit board aside.
BE CAREFUL, the footswitches in the Line 6 DL4 tend to be a bit flimsy, and the springs may fall out. If they do, don’t panic. They are easy to reassemble if need be.
Step Three
Once the circuit board has been removed from the enclosure, it is time to drill the enclosure and mount the footswitch. The best place to do this is near the top of the enclosure by the logo. There is a lot of space up there so the mod won’t cause issues when you put the DL4 back together.
Once drilled, you will mount the foot switch into its new home, and tighten it down.
Step Four
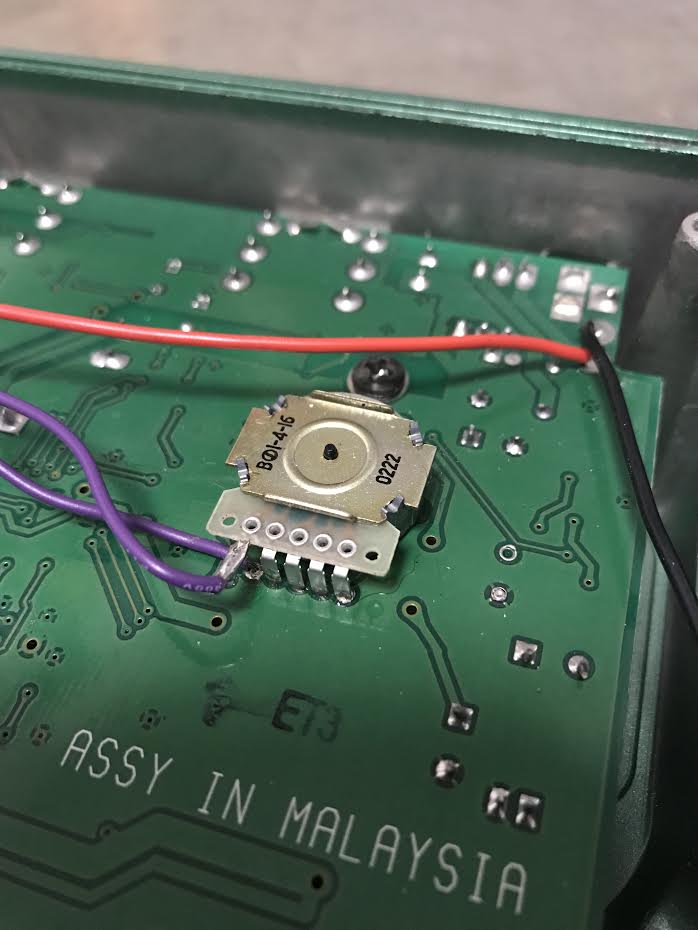
Installing the Line 6 DL4 looper mod. This is the fun part! As I said, this mod is pretty easy. On the circuit board you should see the selector knob on the right-hand side. This knob has five legs that are soldered to the circuit board. You will carefully clip the center of the left-most leg. Then you will bend the part of the leg that is connected to the selector away from the side of the leg that is still connected to the circuit board.
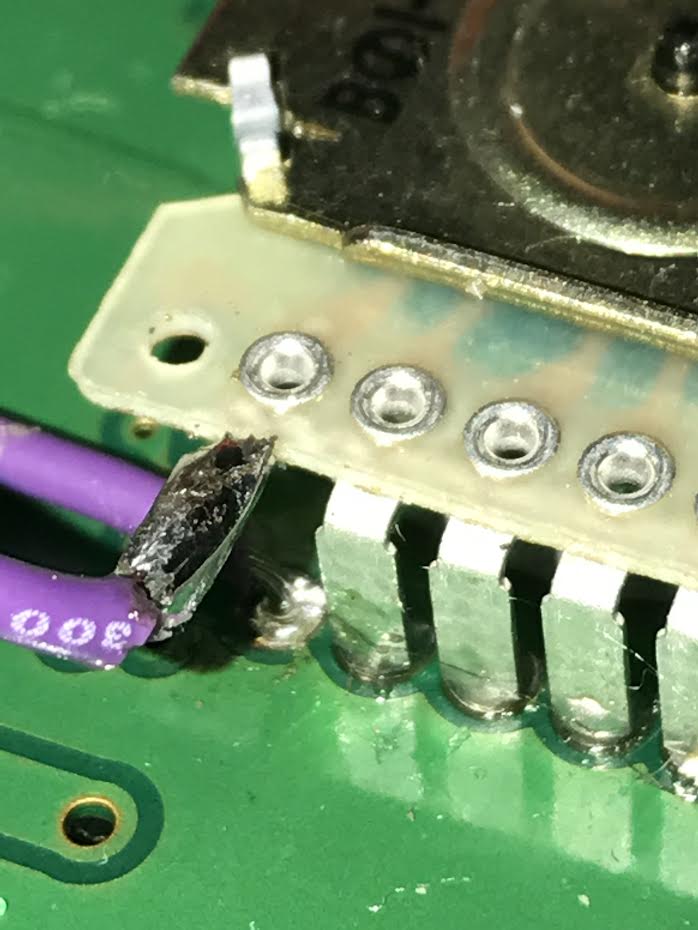
Now you will simply solder a separate strand of wire to each end of the leg that you clipped. Then you will solder each of these wires to one of the pins on the footswitch that you installed.
Step Five
Putting the Line 6 DL4 back together. Congrats! The mod is done! Now we just have to put the pedal back together. Again, the footswitches are a bit flimsy, so be sure that all of the springs are in place! Gently lay the circuit board back into the enclosure and secure it with the four screws and the hex pin that we removed in step two, you will also want to reinstall the footswitch nuts and ensure that they are tightened. Now we can reinstall the backplate. And finally, we can flip the DL4 over and reinstall the knobs!
Testing the Line 6 DL4 Looper Switch Mod
Once everything is put back together it is time to test it out! Be sure that the setting selector is NOT set to the “Looper” option, or the mod won’t work. Set the selector to any of the delay options. You should now be able to step on the newly installed footswitch and this will switch from whatever delay setting you are set to, to the looper setting. Keep in mind that when you switch from looper to delay, the pedal will automatically turn the delay on. This is just a small price to pay for the ease of use though!
Pretty sweet!
If you have completed this mod, we would love to see it! Tag us in a photo on Instagram!
For more guitar pedal mods, check out our growing “pedal modifications” section! If you are interested in building DIY guitar pedals, take a look at our guide on how to make guitar pedals which covers everything you need to know about building DIY guitar effects.